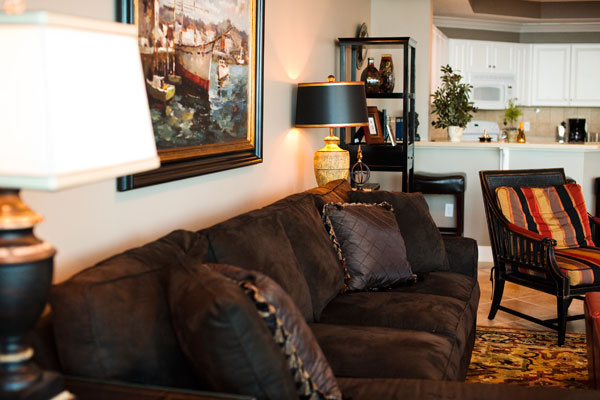
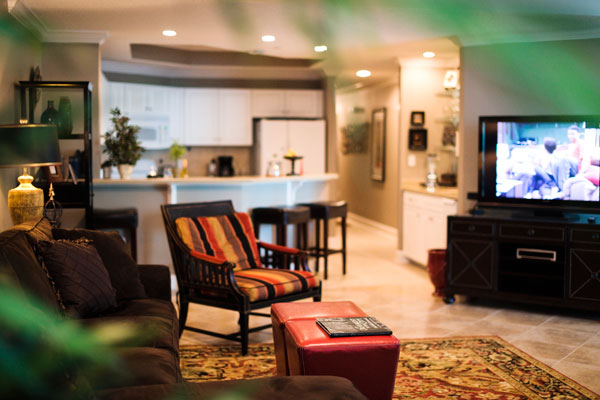
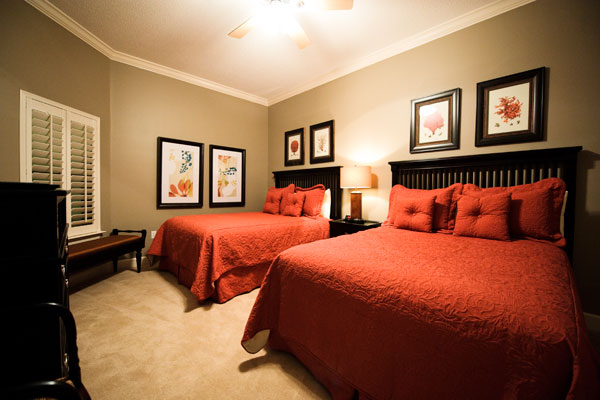
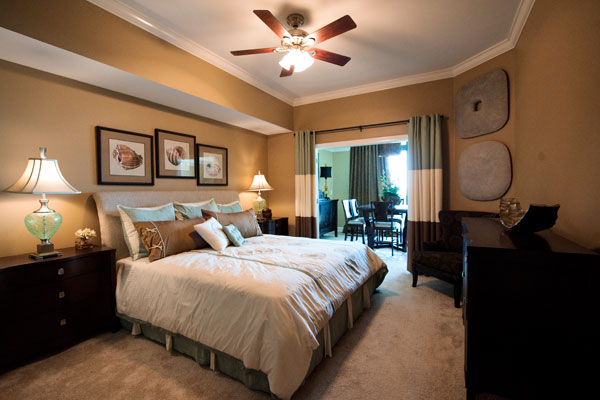
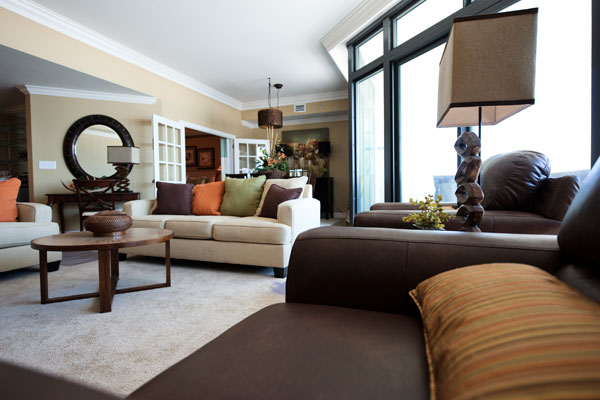
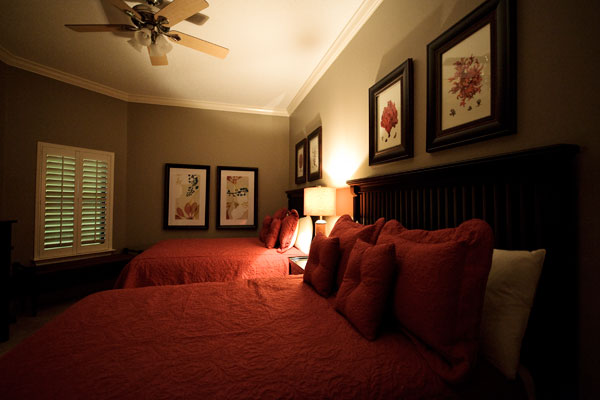
Phoenix West II Photo Gallery
Click to see more


-

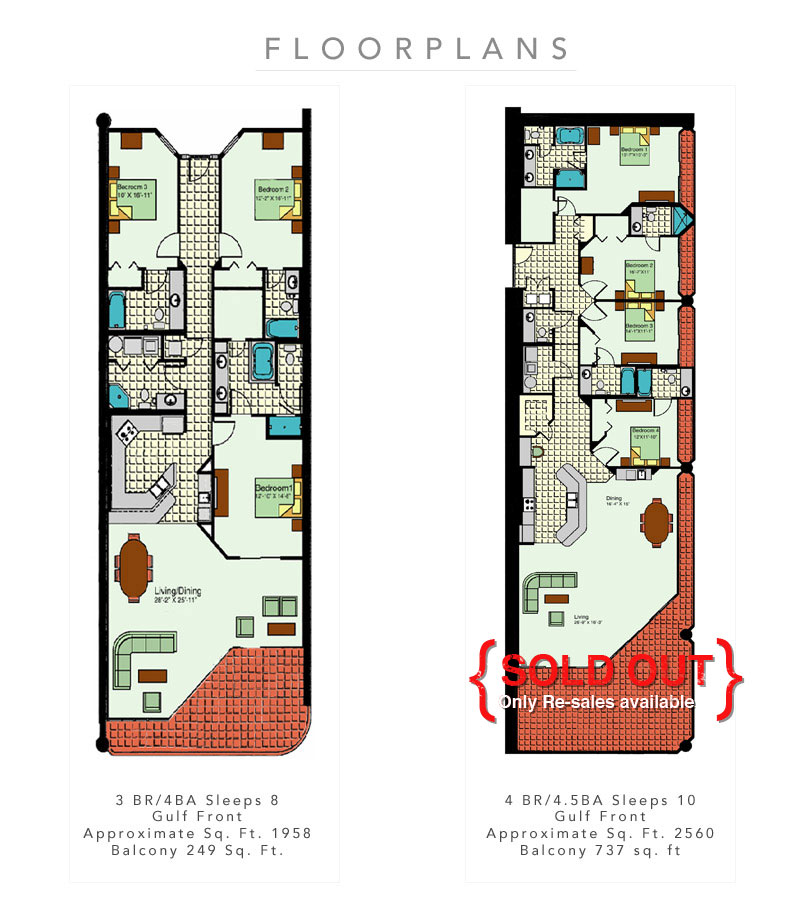
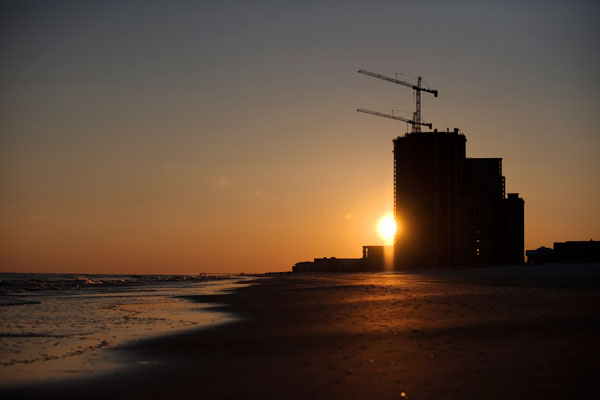
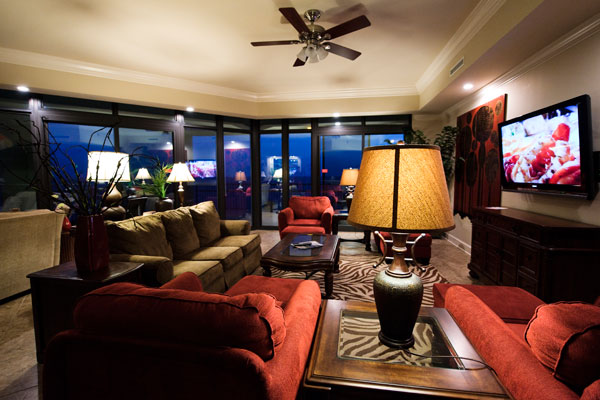
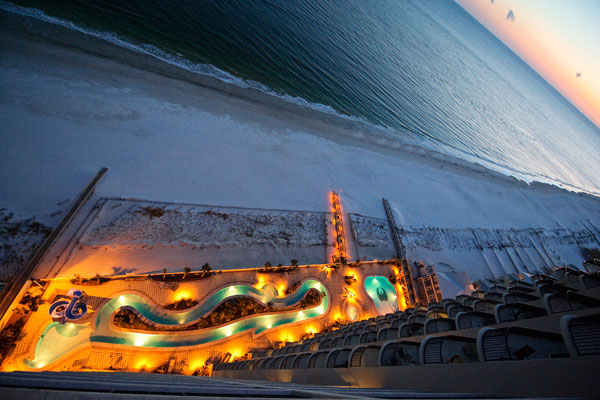
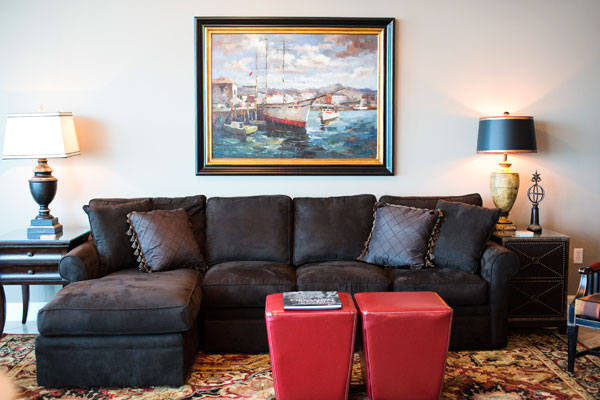
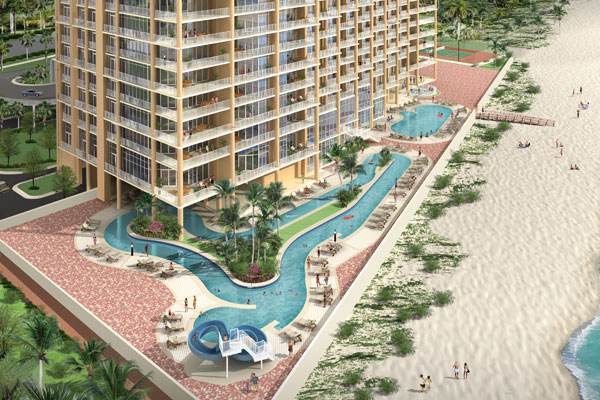
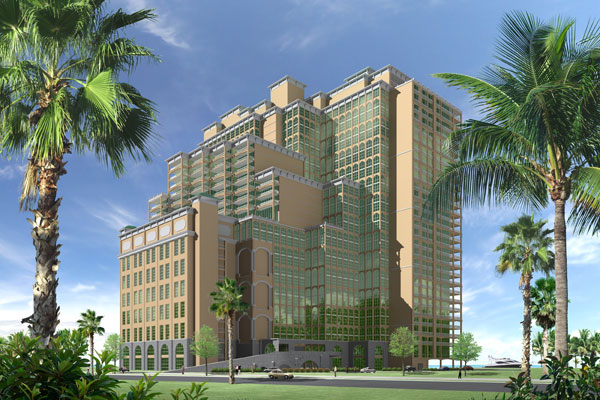
PHOENIX WEST II
amenities include:
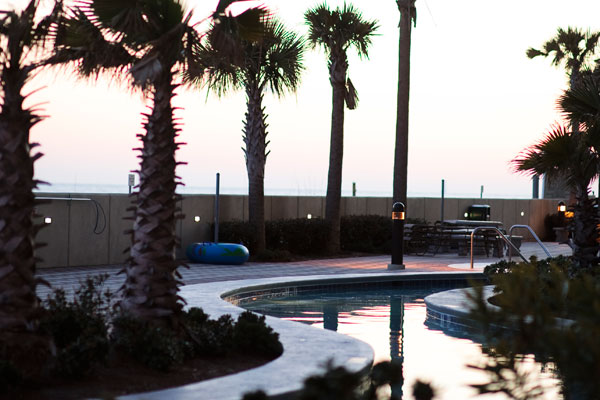
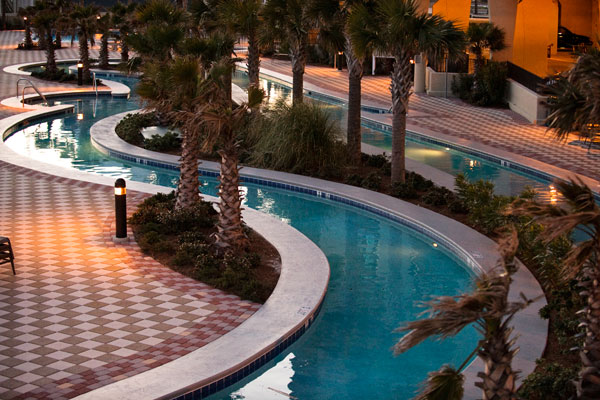
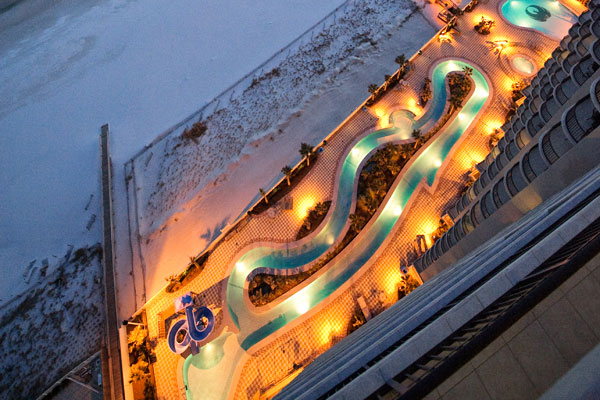
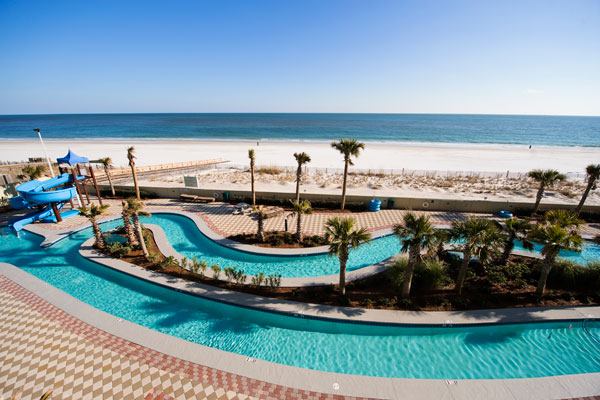
• Gulf-front Lazy River water
• Glassed-in Parking
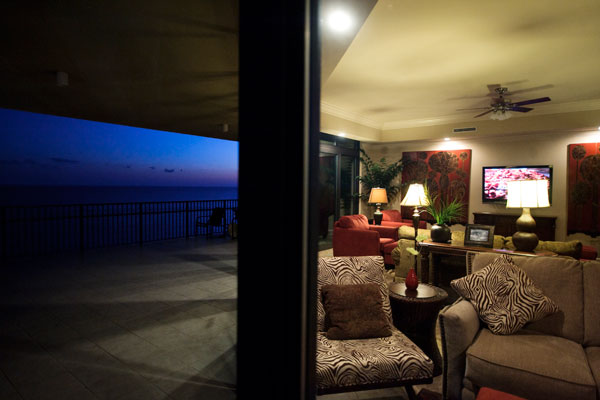
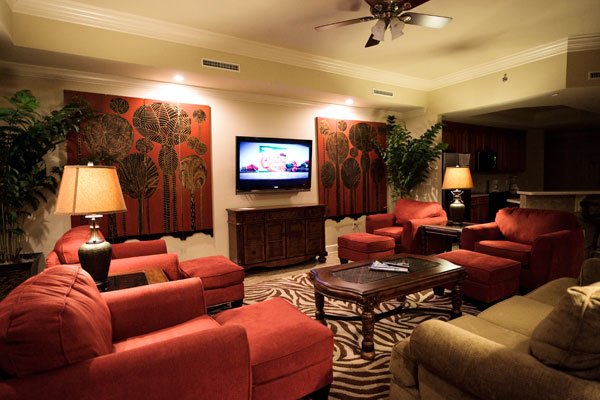
• Dramatic Multi-level Lobbies
• Outdoor Pool
• Indoor pool
• Tennis Courts
• Hot tubs and sauna
• Multi-level Fitness Center
• Wireless Internet Access
Throughout
• Large Meeting Rooms
-

-

-